Curious how to start a large project without stress, delays, or surprise costs? or What are the first steps in planning a kitchen remodel? We ask that because good planning changes everything.
We help homeowners move from uncertainty to a clear plan. Our guide shows how to diagnose problems, set scope and budget, and choose a team so work stays organized and on budget.
Early choices matter: deciding on a general contractor or designer up front reduces change orders and shortens disruptions. We focus on logistics, lead times, and protecting finishes during weeks of work.
American Home brings over 60 years of combined design experience and one-stop shopping to the Greater Lansing Area. When you’re ready, call us at (517) 349-4690 or email info@americanhomekbdesign.com to turn ideas into an actionable plan.
Key Takeaways
- Start by diagnosing issues and setting a realistic scope and budget.
- Decide early whether to hire a general contractor or a designer.
- Plan logistics and lead times to reduce downtime and change orders.
- American Home offers expert design support and one-stop selections.
- Contact our team to move from concept to construction with confidence.
Start With What’s Not Working in Your Current Kitchen
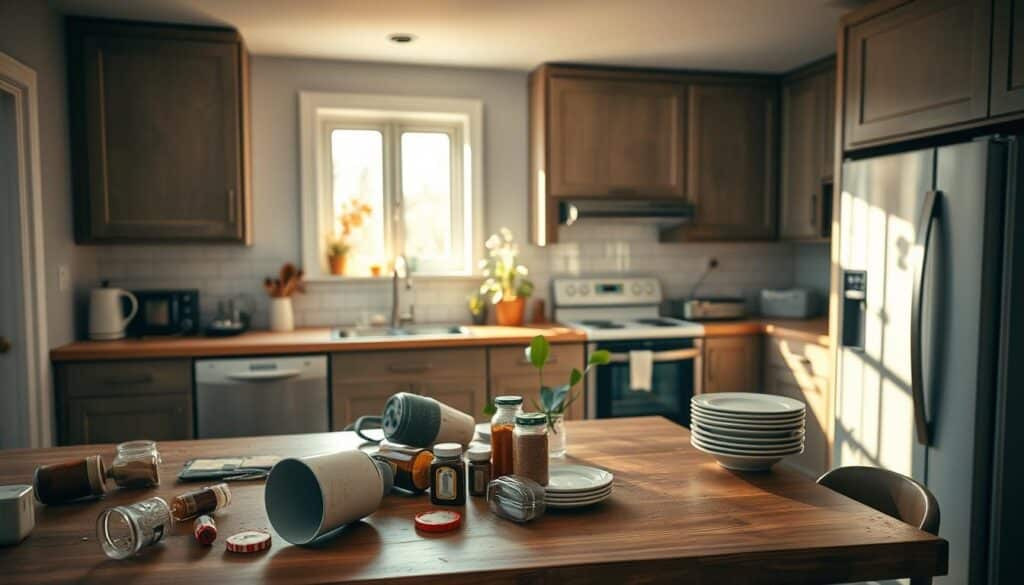
Begin by listing the everyday frustrations that make cooking feel like a chore. An honest inventory of your current kitchen reveals the changes that deliver the biggest benefit.
Space, storage, and workflow pain points
Note crowded prep zones, missing pantry space, or awkward corner cabinets. These space and storage issues block efficient work and increase daily effort.
Appliances, lighting, and outdated finishes
Assess how appliances and lighting limit your life: dim task areas, few outlets, or an old range that changes how you cook. Fixing these often improves function more than cosmetic updates.
Must-haves vs. nice-to-haves
We help you separate true needs from wants so the remodel stays on budget. Document a week of routines—weekday breakfasts and weekend hosting—to shape a new kitchen that fits real use.
- First step: do an honest evaluation to find high-impact fixes.
- Link priorities to trade-offs: when space is tight, invest in storage and lighting before decorative finishes.
What are the first steps in planning a kitchen remodel
Start by picturing how your ideal kitchen will feel during everyday use and special gatherings. That vision guides every choice we make together.
Clarify vision, function, and style
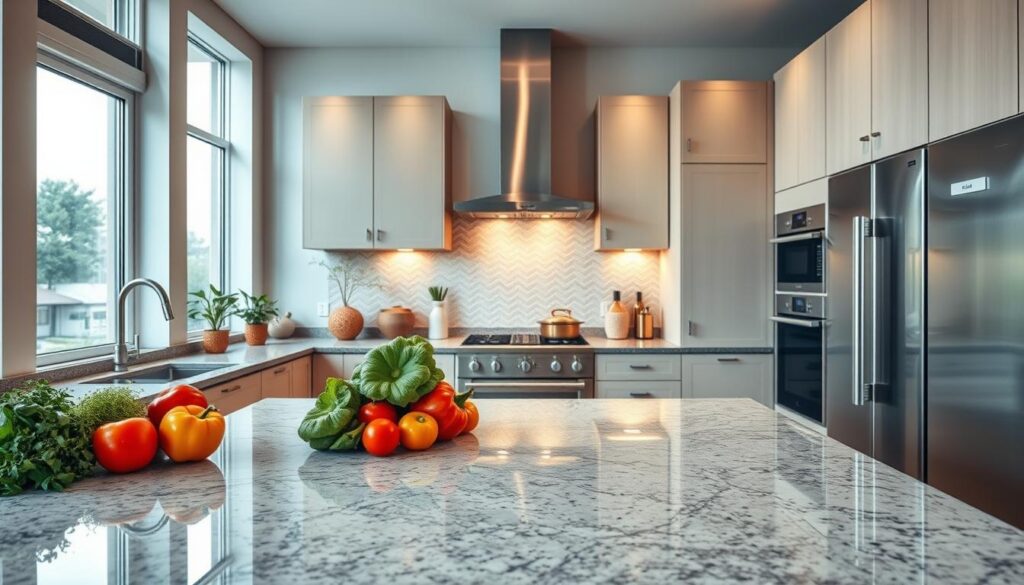
Define the look and how the space should work. Note must-have functions like storage, prep zones, and seating. Match inspiration photos to clear design cues: door profile, finish, hardware tone, and lighting mood.
Define scope before shopping materials
Decide whether to keep the existing layout or move plumbing, remove walls, or add an island. Scope choices change cost and time quickly, so lock them in before buying materials.
Choose who manages the project
Decide early: hire a designer, a general contractor, or manage the work yourself. Each option affects your schedule, risk, and the project process. Early involvement reduces reorders and delays.
- Our sequence: vision first, then scope, then team, then materials.
- We guide selections: aligning design with real-life use and a clear plan.
Set a Realistic Kitchen Remodel Budget and Remodeling Costs Plan
A clear budget keeps surprises out of your renovation and decisions moving forward. We help translate design desires into realistic numbers so selections stay aligned with funds and timeline.

Account for labor, materials, and a contingency buffer
Start by listing major line items: labor, materials, and a contingency for hidden conditions behind walls. Major remodel costs rise quickly when scope expands or management is added.
Plan cost trade-offs for cabinets, countertops, and tile
Cabinets, countertops, and tile create the biggest swings in remodeling costs. Decide where to splurge for durability and where to save with finishes that still look premium.
Balance dream choices with long-term home value
Match choices to daily use and resale sensibility. A well-planned kitchen supports livability now and maintains home value over time.
- Budget by category: cabinets, countertops, flooring, lighting, appliances, plumbing fixtures, labor.
- Use a “splurge vs. save” framework tied to durability and maintenance needs.
- Keep a 10–20% contingency to avoid delays when details change.
- We offer quality products at value and guide choices to fit both dream and practical goals.
Plan Your Kitchen Layout Around How You Live
Layout decisions shape daily life; start by mapping how your household moves through the room. That map guides choice among classic options and keeps costly changes to a minimum.
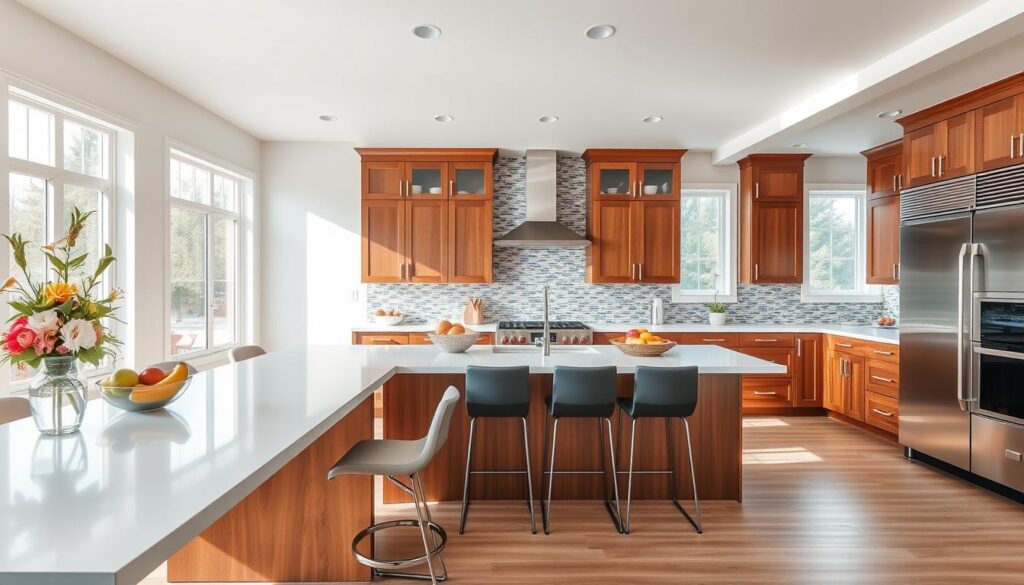
Classic plans work well for predictable routines: one-wall or corridor layouts suit narrow homes. L-shape, double-L, and U-shape layouts create more prep zones and clear work aisles for busy families.
Kitchen triangle and traffic flow
Apply the kitchen triangle to reduce steps between sink, range, and refrigerator. Thoughtful traffic flow prevents bottlenecks during peak times and keeps cook and guests from colliding.
Space for islands, dining, and storage
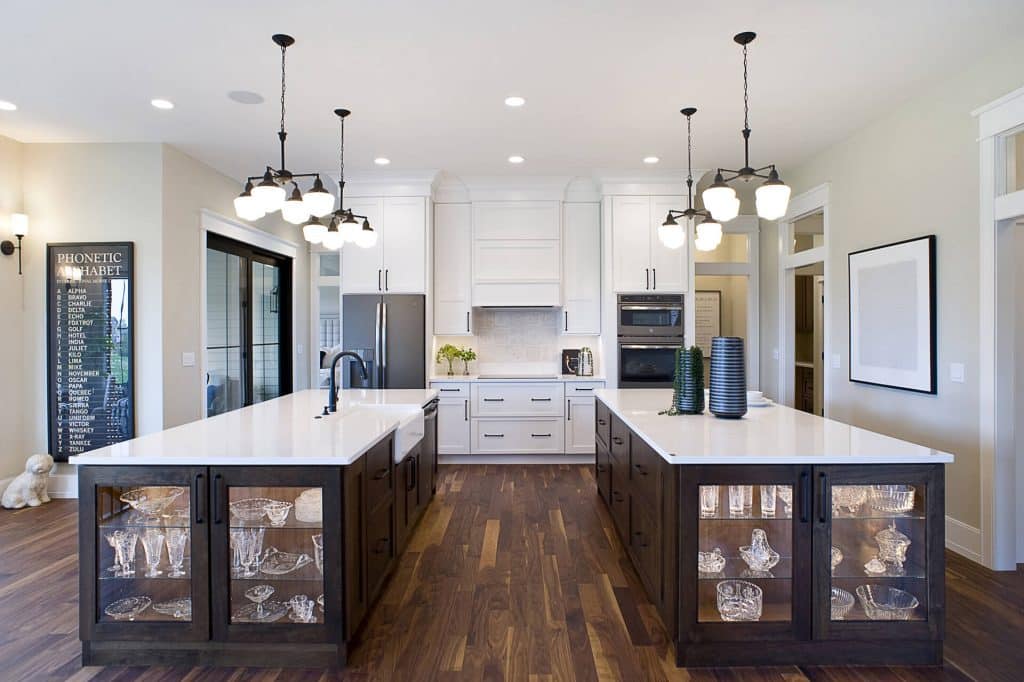
Islands add work surface and casual dining but must allow seating clearance and two clear work aisles. Match island depth and storage to your needs: deep drawers by the cooktop and a pantry near prep zones.
Practical tools to map your plan
Use online kitchen design software, physical template kits, or showroom design guidance so your plan is measurable—not just inspirational. Our expert design staff helps homeowners map layouts and selections as part of a customer-focused, one-stop shopping experience.
- Why this matters: layout is the most expensive thing to change later; plan it around routines.
- Explore options, test traffic flow, and lock storage and island choices before finalizing scope.
Make Key Design Selections Before Demolition
Locking design decisions early keeps the project moving and prevents costly hold-ups once work begins.
Cabinets set the tone
We start with cabinets because they define style, storage, and countertop dimensions. Choose box construction, drawer hardware quality, and internal storage options now to avoid late changes.
Countertops, backsplash, and materials
Pick countertops and tile that match daily use: heat resistance, stain performance, and maintenance matter. Remember: countertops are templated after cabinets are installed.
Appliances, plumbing, lighting, and flooring
Lock in appliances, plumbing fixtures, and lighting early so rough-in locations and clearances are correct. Also decide on flooring type—tile, hardwood, or floating—since that affects installation order.
- Why now: final selections before demolition reduce delays and extra cost.
- Sequencing: cabinets → countertops → appliances and fixtures → flooring choices.
- Our role: we guide quality-and-value choices through one-stop shopping and expert design support for smooth fabrication and installation stages.
Choose the Right Team and Services for Your Kitchen Remodeling Project
Picking who manages your remodel shapes budget, schedule, and day-to-day site management. Early team decisions limit surprises and help keep material orders and timing aligned with your vision.
Hiring a general contractor vs. hiring your own subcontractors
Hiring a general contractor bundles coordination, permits, and scheduling under one accountable lead. That reduces homeowner time spent juggling trades and helps keep the project on track.
Hiring subs directly can save money on markup but increases the homeowner’s coordination load. If you choose this option, plan clear communication protocols and a written schedule for each trade.
When DIY makes sense and when it adds risk
DIY works well for cosmetic tasks and small installs that don’t affect structure, plumbing, or electrical. It saves labor costs and gives hands-on control.
Avoid DIY on structural changes, major plumbing, electrical panels, or anything that triggers inspections. Those areas add risk, potential rework, and insurance concerns.
Why early collaboration reduces delays and change orders
Bring designers, contractors, and suppliers together before demolition. Early collaboration catches conflicts between cabinets, appliances, and rough-ins so you avoid costly changes during build-out.
- We explain team options to support budget, time, and quality when multiple trades must sequence work.
- Ask upfront about communication cadence, site protection, and how the project plan handles inevitable changes and details.
- Contact American Home for one-stop services and design-led guidance tailored to Greater Lansing homeowners: (517) 349-4690 | info@americanhomekbdesign.com.
Permits, Codes, and Inspections to Plan for in the United States
Planning permits early protects safety and preserves your home’s value. We guide homeowners so the renovation is beautiful, functional, and executed responsibly.
Typical permits to expect
Permits are usually required for building, plumbing, and electrical work. Local city or county agencies issue them, and each category covers distinct scope:
- Building: structural or layout changes and new openings.
- Plumbing: water and drain line moves, sinks, and dishwashers.
- Electrical: new circuits, additional outlets, and lighting.
Inspections during rough-in and schedule impacts
Rough-in inspections happen with walls open so inspectors can see hidden systems. Passing this phase prevents costly rework and keeps the project moving.
Plan realistic buffers: inspections often add about a week for scheduling and approvals. We make sure plans, product selections, and rough-in locations meet local codes so approvals come smoothly.
Tip: Early coordination between designer, contractor, and inspector reduces changes and gives you confidence as construction proceeds.
Prepare Your Home and Your Schedule for the Remodel Phase
Before hammers swing, take time to protect your home and arrange daily life for the coming disruption. Small, early steps keep the build phase orderly and reduce surprises.
Protect adjacent spaces from dust and damage
Seal doorways and air pathways, route traffic, and cover floors with durable protection. We recommend clear zones so dust stays on site and finishes stay pristine.
Set up a temporary kitchen and meal rhythm
Move small appliances to a nearby counter or garage and create a simple meal plan for weeks without full access to sink or stove. Stock easy-to-prepare foods and mark days when utilities may be shut off.
Lead times for cabinets, appliances, and specialty materials
Lead times can drive the schedule. Lock selections for cabinets, appliances, and specialty materials early so orders arrive before key install dates.
- We outline site protection, dust control, and noise expectations to keep the rest of your home safe.
- We recommend a weekly check-in so you always know what phase and decisions are next in the process.
- One-stop shopping with American Home speeds selections and helps you plan time-sensitive orders to avoid stalls.
Make sure your schedule matches delivery windows and on-site crew availability. With good prep, the project moves faster and finishes look flawless.
Demolition: Clearing the Way for Your New Kitchen
Demolition marks a planned transition from old finishes to your new kitchen. We schedule this step only after key materials arrive and pass inspection so downtime stays short.
Typical duration and safe utility shutoffs
Demo usually takes about one week for a standard layout. Unexpected conditions behind walls or cabinets can extend time, so we build buffers into the plan.
Before any removal, we make sure gas, water, and electric are shut off in the work area and verified by a qualified technician.
Debris disposal planning and site organization
We arrange dumpsters and haul-away logistics in advance to keep paths clear for trades.
Site organization matters: a tidy work zone reduces damage risk and speeds follow-on installs. Treating demo as a controlled process keeps the whole project moving smoothly.
- Why we schedule demo late: prevents extended downtime and reorders.
- Safety first: verified shutoffs and protected adjacent spaces.
- Clean site: faster installs and better outcomes for the remodel and renovation.
Structural Changes and Rough-In Work: Plumbing, Electrical, and HVAC
This phase ties design intent to technical reality: framing, water, power, and ventilation must align before finishes begin.
Framing for walls, windows, and openings
Framing changes set the layout. Moving walls or adding openings usually takes 2–4 weeks. Complete structural work before any finish installation so the plan stays true to the design.
Rough-in plumbing for sinks, dishwashers, and refrigerators
Rough-in plumbing places supply and drain lines for sinks, dishwashers, and fridge water connections. This work typically takes 3–5 days and must happen before drywall or flooring to allow full access.
Electrical planning and lighting
Modern kitchens often need multiple new circuits. Plan outlet placement, dedicated lines for major appliances, and layered lighting to support real work zones. Proper electrical rough-in minimizes later rework.
HVAC and ventilation
Address ductwork and exhaust placement during rough-in so comfort and hood performance meet expectations. Good ventilation protects finishes and improves daily comfort.
- Rough-ins require inspection and usually add about one week for approvals.
- Finishing cannot proceed until rough-ins pass inspection.
- We coordinate technical decisions with design so fixtures land exactly where intended.
Close Up the Walls: Insulation, Drywall, and Paint
Closing up walls marks the turn from rough construction to visible finish work. This milestone shows the project moving from technical rough-ins into the finish phase where design comes alive.
Insulation upgrades while walls are open
With framing exposed, we recommend upgrading insulation now. It’s an efficient time to add higher R-value batts or spray foam to improve comfort and reduce energy costs without reopening walls later.
Drywall install and finish timing
Drywall hanging, tape, mud, and sanding typically take about one week for a standard kitchen. Each step adds drying and inspection time, so the schedule needs realistic buffers.
Good drywall work matters: smooth surfaces reduce paint touch-ups and make lighting and details look better.
Painting before floors, cabinets, and fixtures
We often paint walls and ceilings before installing flooring, cabinets, and fixtures. This sequencing protects finished surfaces and delivers crisper cut lines at trim and cabinets.
- Why this matters: once insulation and drywall are done, the remodel shifts toward finished quality.
- Smart investment: insulation upgrades now improve long-term comfort without future disruption.
- Sequencing tip: allow proper drying and curing time so paint and subsequent installation go smoothly.
Flooring, Cabinets, and Countertops: Getting the Order Right
Choosing when to lay floors versus set cabinets affects fit, seams, and long-term durability. We help homeowners align product choices with the correct installation order so the finish feels intentional and refined.
When to install flooring vs. cabinets
Tile or hardwood often goes before cabinet installation so grout lines and seams run continuously under base units.
Floating systems and many luxury vinyl planks typically install after cabinets to avoid restricting expansion. New flooring choices influence final clearances and toe-kick heights.
Cabinet installation essentials
Proper cabinet installation requires precise leveling, secure anchoring, and strict layout accuracy. A small error here creates gaps and misaligned doors later.
We verify footing, shim as needed, and check cabinet runs for true alignment before moving to countertops.
Countertop templating and timing
Countertops are templated only after cabinets sit level and fixed. Fabrication and installation follow templating, so plan for this step and allow extra time for fabrication.
- Order of operations: flooring strategy → cabinets → countertops, adjusted by materials and installation methods.
- Consider tile seams, edge profiles, and cleanup when choosing materials to support durability and easy maintenance.
Fixtures, Appliances, and Final Details That Complete the Look
Now we bring together plumbing, lighting, and hardware so your kitchen feels complete and reliable.
Sink, faucet, disposal, and plumbing connections
After cabinets and countertops are set, we install sinks, faucets, and disposals and complete all plumbing connections. These performance items must be tested for leaks and hot/cold balance. Proper routing prevents later access issues and protects new floors and cabinets.
Lighting fixtures, switches, and under-cabinet lighting
We hang fixtures, install switches, and test under-cabinet lighting so task and ambient layers work together. Commissioning lighting lets you adjust dimmers and color temperature to fit your daily routine and the final look.
Backsplash, trim, caulk, and touch-ups
Tile backsplashes, trim, and caulk close visual gaps and refine the aesthetic. Skilled touch-ups—paint, seam sealing, and grout cleaning—turn installations into a polished look.
Final walkthrough and punch-list process
We complete a final walkthrough to create a punch list that checks alignment, operation, caulk lines, and finish quality. This last step ensures the project ends cleanly and that the small details deliver a truly elevated result.
- Why it matters: final fixtures and appliances bring the kitchen to life without risking damage to countertops or flooring.
- Our promise: a calm, coordinated finish so the look and function meet your expectations.
Conclusion
A clear sequence and realistic timeline turn big projects into steady progress. Understand the full process—from early choices and team decisions to inspections, installation order, and the final punch list—to reduce overwhelm and costly delays.
Recap core steps: identify what isn’t working, set a realistic budget, lock scope, and choose a layout that supports how you live. Finalize design selections before demolition to protect schedule, cost, and installation accuracy.
Follow correct sequencing: demo, structural and rough-in work, close walls, flooring/cabinets/countertops, then fixtures and details. Plan for time, lead times, and a contingency so your kitchen remodel feels managed rather than chaotic.
Bring goals, inspiration, and measurements to American Home. Our expert design staff has over 60 years of combined experience and one-stop services in the Greater Lansing Area. Call (517) 349-4690 or email info@americanhomekbdesign.com to discuss your project.